One of the main steps of Roomba Setup is connecting your Roomba to WiFi. After getting a complete Roomba WiFi Setup, the iRobot Home app would be the means through which you could control your Roomba, schedule cleanings, and get performance updates from the robot directly. This guide explains step by step how to setup Roomba for giving the best results.
In the beginning, find an area where you will place the Roomba charging dock. Make sure there is at least 1.5 feet of clear space on both sides and about 4 feet of clear space in front. Do not place the dock on a carpeted surface or inside a closet. Once the dock is plugged into a power outlet, place your Roomba on the dock to charge it to full capacity, prior to the setup process.
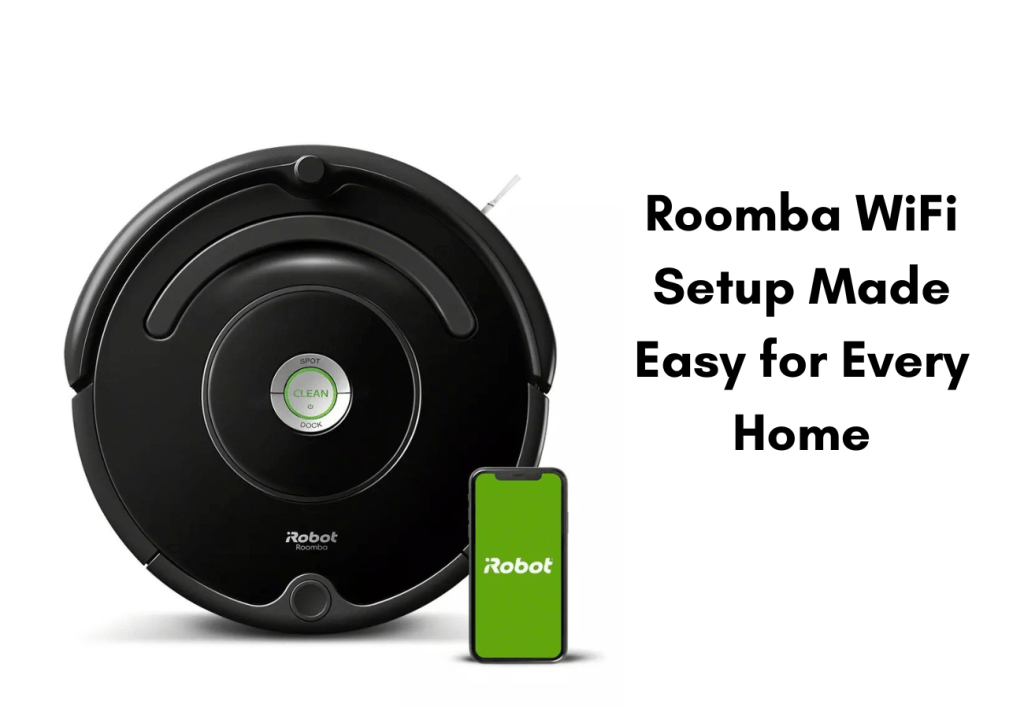
If you plan on downloading the iRobot Home app, do that via your smartphone app store. Create an account or log in if you already have an account. Open the app, and the next step will be to select “Add Robot”. After that, follow the steps to connect your Roomba to your WiFi. Be sure your mobile phone is on the correct network. For the best connection, use a stable 2.4 GHz network.
The app enables you to personalize your Roomba, organize the times for it to clean, and visually follow the cleaning progress. Through the WiFi Setup, iRobot also guarantees that your Roomba is continually updated with the latest firmware.
Make a short experiment to be sure that your Roomba is operational through the app and that it can clean effectively before it is used for the first time. In the event of a failed connection, try rerunning the process after you have turned off and on your WiFi router and your Roomba.
A good Roomba Wifi Setup indicates your robot vacuum is ready for operation at its maximum potential. It is a smooth process with the remote control, scheduling, and firmware updates. By following this guide, you can be sure that your Roomba is up and running and is going to make your cleaning routine easier.

Leave a comment